
Managing Tags
Comprehensive guide to creating, updating, merging, and deleting tags
Viewing and Searching Tags
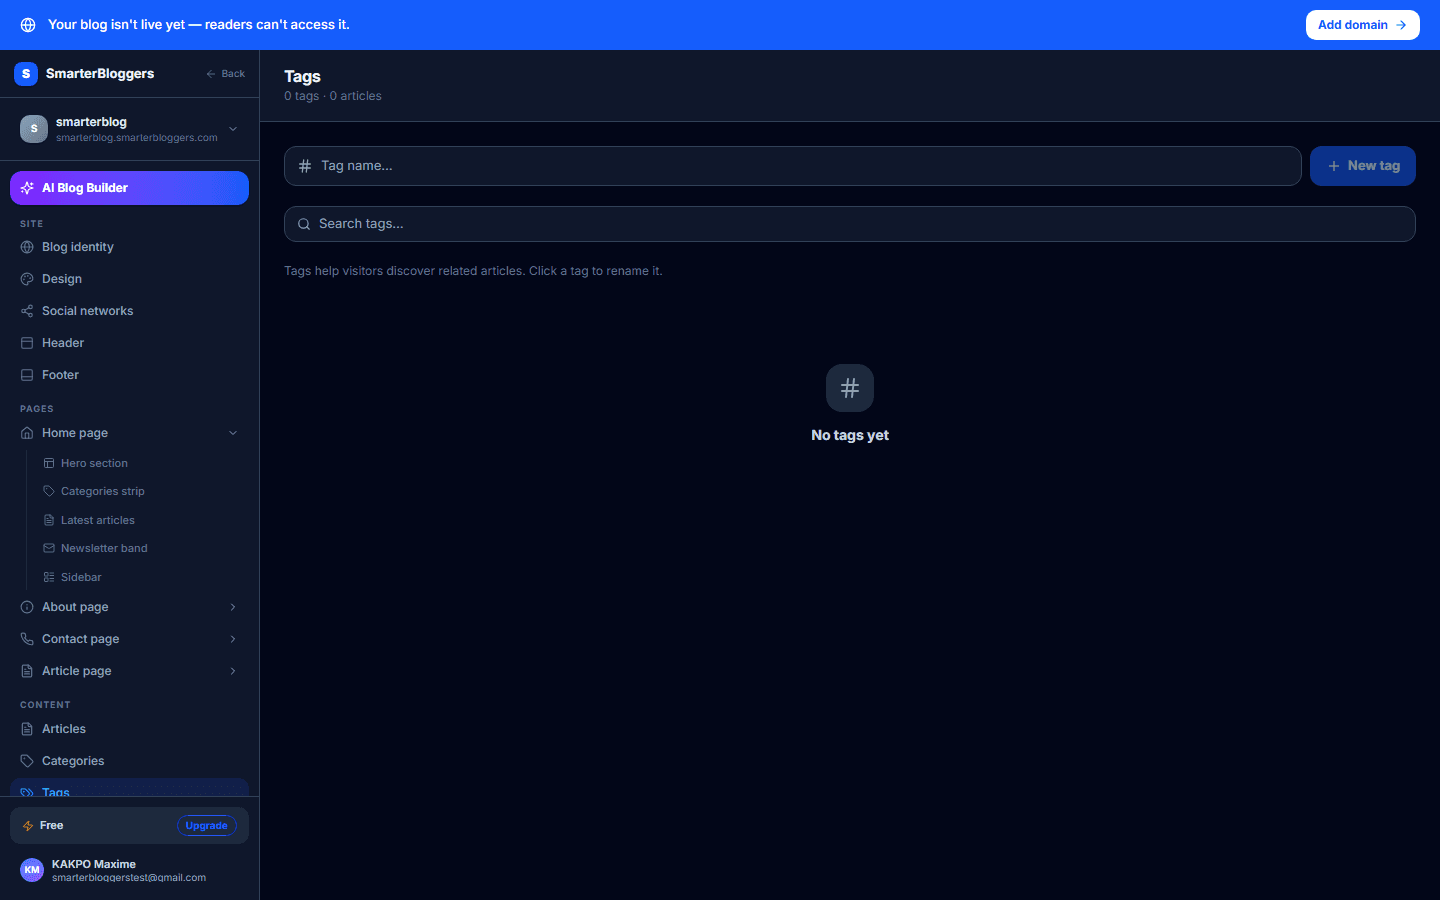
To view all tags associated with your blog, navigate to the Tags page in your dashboard. Here, you can see a list of tags, each displaying its name and the number of articles associated with it. You can search for specific tags by entering a keyword in the search bar. The search is case-insensitive and matches tags by their name.
- Use the search feature to quickly find tags by name.
Creating a New Tag
To create a new tag, enter the desired tag name in the input field at the top of the Tags page. Press 'Enter' or click the 'Create' button to add the tag. The name must be unique within your blog. If a tag with the same slug (a URL-friendly version of the name) already exists, you will receive an error message.
- Ensure the tag name is descriptive and relevant to the articles it will categorize.
Renaming a Tag
To rename a tag, click on the tag name to enter edit mode. Modify the name as needed and press 'Enter' or click the 'Save' button to apply changes. If the new name results in a slug that conflicts with an existing tag, an error will be displayed. You can cancel the rename operation by pressing 'Escape' or clicking the 'Cancel' button.
- Renaming a tag updates its slug, which must remain unique.
Deleting a Tag
To delete a tag, click the trash icon next to the tag. If the tag is associated with articles, a confirmation prompt will appear. Confirm the deletion to remove the tag. Note that deleting a tag will not affect the articles themselves.
- Ensure that you want to delete a tag, as this action cannot be undone.
What's next?
Now that you understand how to manage tags, explore how to effectively categorize your articles to improve content discoverability. Check out our guides on content organization and SEO best practices.