
Managing Support Tickets
Comprehensive guide to using the support ticket system
Viewing Support Tickets
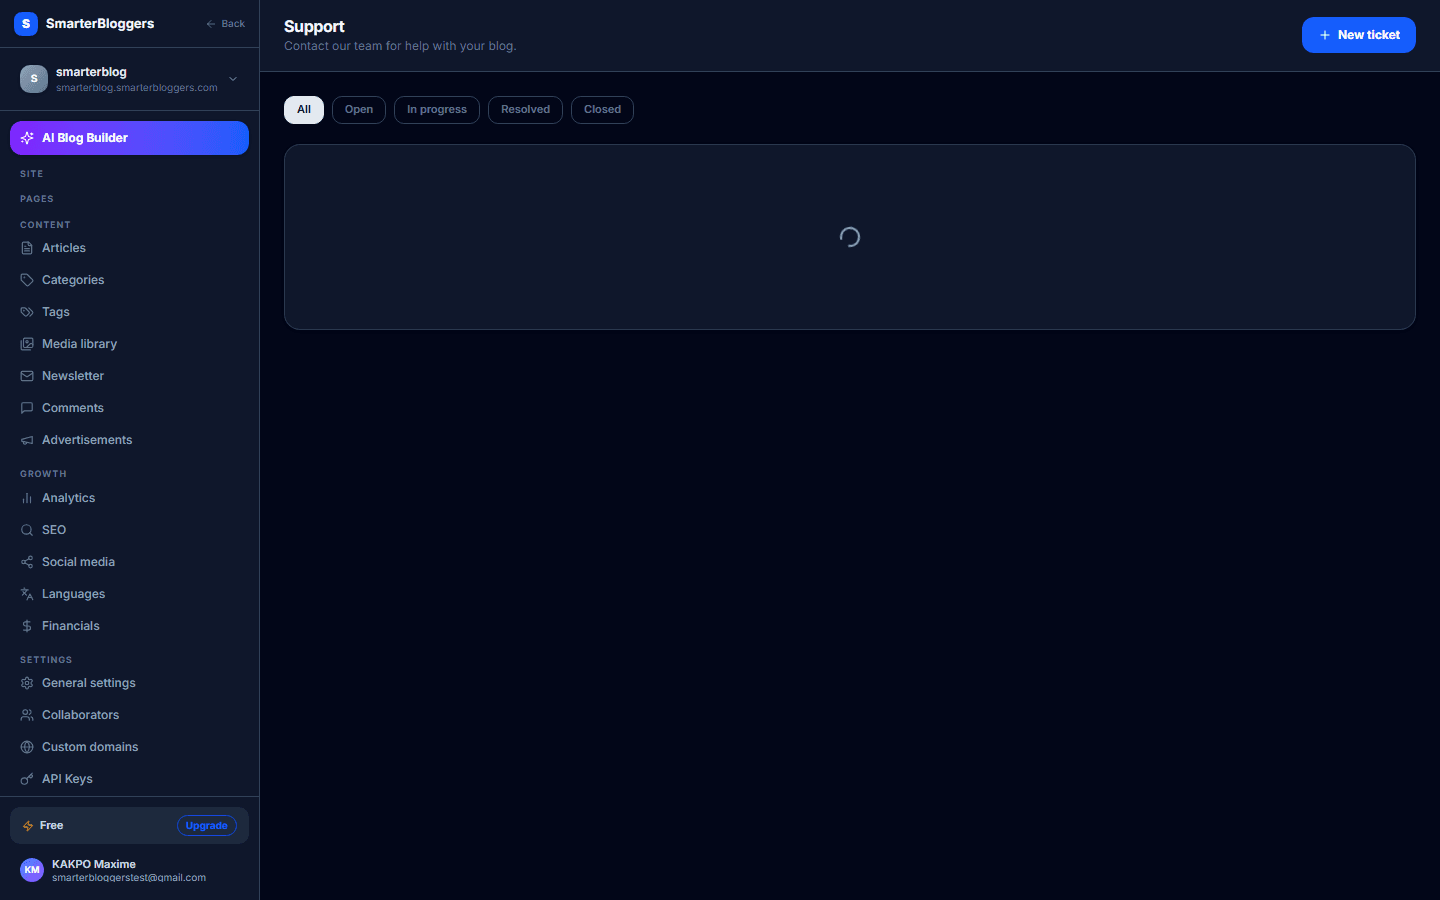
To view your support tickets, navigate to the Support section of your dashboard. Here, you can see a list of all tickets associated with your tenant account. You can filter tickets by their status: open, in progress, resolved, or closed. Each ticket displays its subject, priority, last message, and creation date. Click on a ticket to view more details and the conversation history.
- Use the status filter to quickly find tickets that need your attention.
- The priority indicator helps you identify urgent tickets at a glance.
Creating a New Support Ticket
To create a new support ticket, click the 'New Ticket' button in the Support section. Fill out the form with the following details:
- Subject: Enter a brief subject for your ticket (up to 255 characters).
- First Message: Provide a detailed description of your issue or request.
- Priority: Choose the priority level for your ticket: low, normal, high, or urgent.
Once you've filled out the form, click 'Submit' to create the ticket. A notification will be sent to the support team.
- Ensure your subject is concise yet descriptive.
- Provide as much detail as possible in your first message to expedite the support process.
Viewing and Responding to a Ticket
Click on a ticket from the list to view its details and message history. You can see all messages exchanged, including those from the support team. To respond, type your message in the provided text area and click 'Send'. You can also attach files if necessary. All messages are auto-translated to ensure clear communication.
- Keep your messages clear and to the point.
- You can attach files to provide additional context or evidence.
Uploading Files to Support Tickets
If you need to upload a file to a support ticket, use the file upload feature. Click the 'Upload' button, select your file, and it will be attached to your message. Supported file types include images and documents.
- Ensure your file is relevant to the ticket issue.
- Check the file size and type before uploading.
Closing a Support Ticket
Once your issue is resolved, you can close the ticket. Navigate to the ticket details page and click the 'Close Ticket' button. This will update the ticket status to closed and notify the support team.
- Only close a ticket once you are satisfied with the resolution.
- You can reopen a closed ticket if needed by sending a new message.
Understanding Ticket Status and Priority
Tickets can have different statuses: open, in progress, resolved, or closed. The status indicates the current state of the ticket. Additionally, tickets have a priority level: low, normal, high, or urgent, which helps prioritize support requests.
- Use the priority level to communicate the urgency of your issue.
- Monitor the status of your tickets to stay informed about their progress.
What's next?
Now that you know how to manage support tickets, explore other features of your dashboard to enhance your experience. Check out our guides on user management and analytics for more insights.