
Managing Your Media Library
Comprehensive guide to uploading, viewing, and managing media files
Uploading Media Files
To upload media files, navigate to the Media Library section of your dashboard. Click the 'Upload' button to open the upload zone. You can drag and drop files directly into this area or click to select files from your computer. The supported formats include images, videos, audio files, and documents. Ensure your plan's storage quota is not exceeded before uploading, as you may encounter a storage limit error if you surpass the allocated space. Once uploaded, the files are stored securely and are accessible within your media library.
- Check your current storage usage in your account settings.
- Ensure files are in supported formats to avoid upload errors.
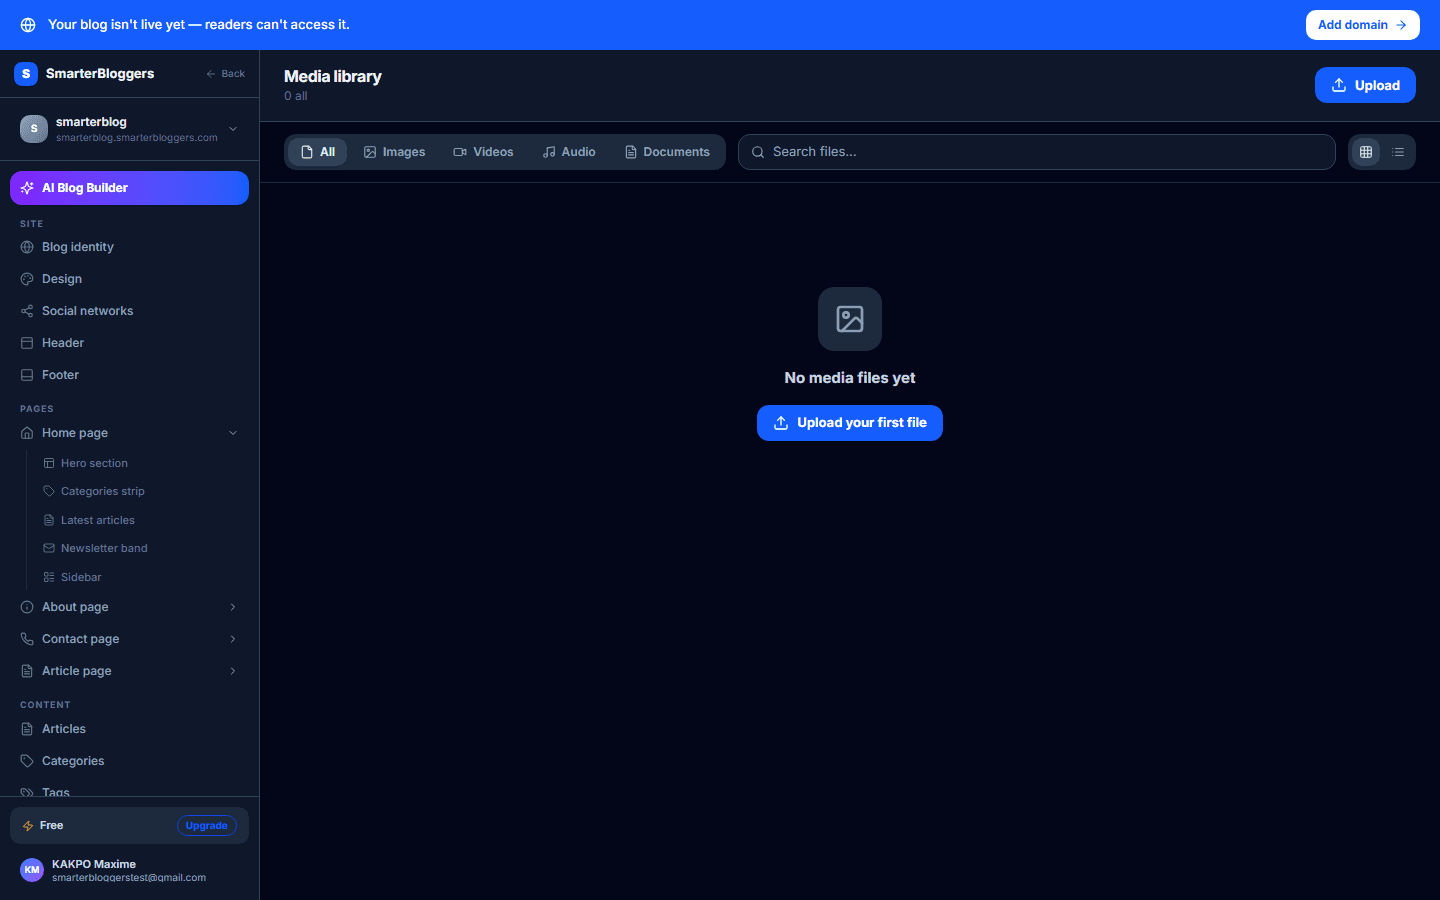
Viewing and Filtering Media
Your media library provides a flexible interface to view and manage your files. You can toggle between grid and list views using the view toggle buttons. Use the filter tabs to narrow down the media type, such as images, videos, audio, or documents. The search bar allows you to find specific files by filename or alt text. The media items are displayed with thumbnails, and you can click on any item to view its details.
- Use the search function to quickly locate specific files.
- Switch between grid and list views for better visibility.
Managing Media Details
Clicking on a media item opens the detail panel, where you can view and edit metadata. You can update the alt text and caption for images. The panel also displays the file size, format, dimensions, duration (for videos and audio), and upload date. You can copy the file's URL to the clipboard or open it in a new tab. To save changes to metadata, click the 'Save Metadata' button.
- Use descriptive alt text for better accessibility.
- Ensure captions are concise and informative.
Deleting Media Files
To delete a media file, select the item and click the 'Delete' button in the detail panel. A confirmation prompt will appear to prevent accidental deletion. Confirm the deletion to remove the file permanently. Note that deleting a file will free up the corresponding storage space in your account.
- Double-check before deleting files to avoid data loss.
- Deleted files cannot be recovered.
Understanding Storage Quotas
Your account's storage quota is determined by your subscription plan. If you reach the storage limit, you will not be able to upload new files until you either upgrade your plan or delete existing files to free up space. The storage usage is updated automatically when files are uploaded or deleted.
- Regularly review your storage usage to avoid hitting limits.
- Consider upgrading your plan if you frequently upload large files.
What's next?
Now that you understand how to manage your media library, explore our guides on optimizing media for web performance and integrating media into your blog posts.