
Customizing Your Home Page
A comprehensive guide to personalizing your blog's home page layout and features
Accessing the Home Page Customization
To begin customizing your home page, navigate to the dashboard of your blog. From there, select the 'Home Page' option under the customization settings. This will open the BlogStudioShell interface, where you can modify various sections of your home page.
- Ensure you are logged in with the appropriate permissions to access the customization settings.
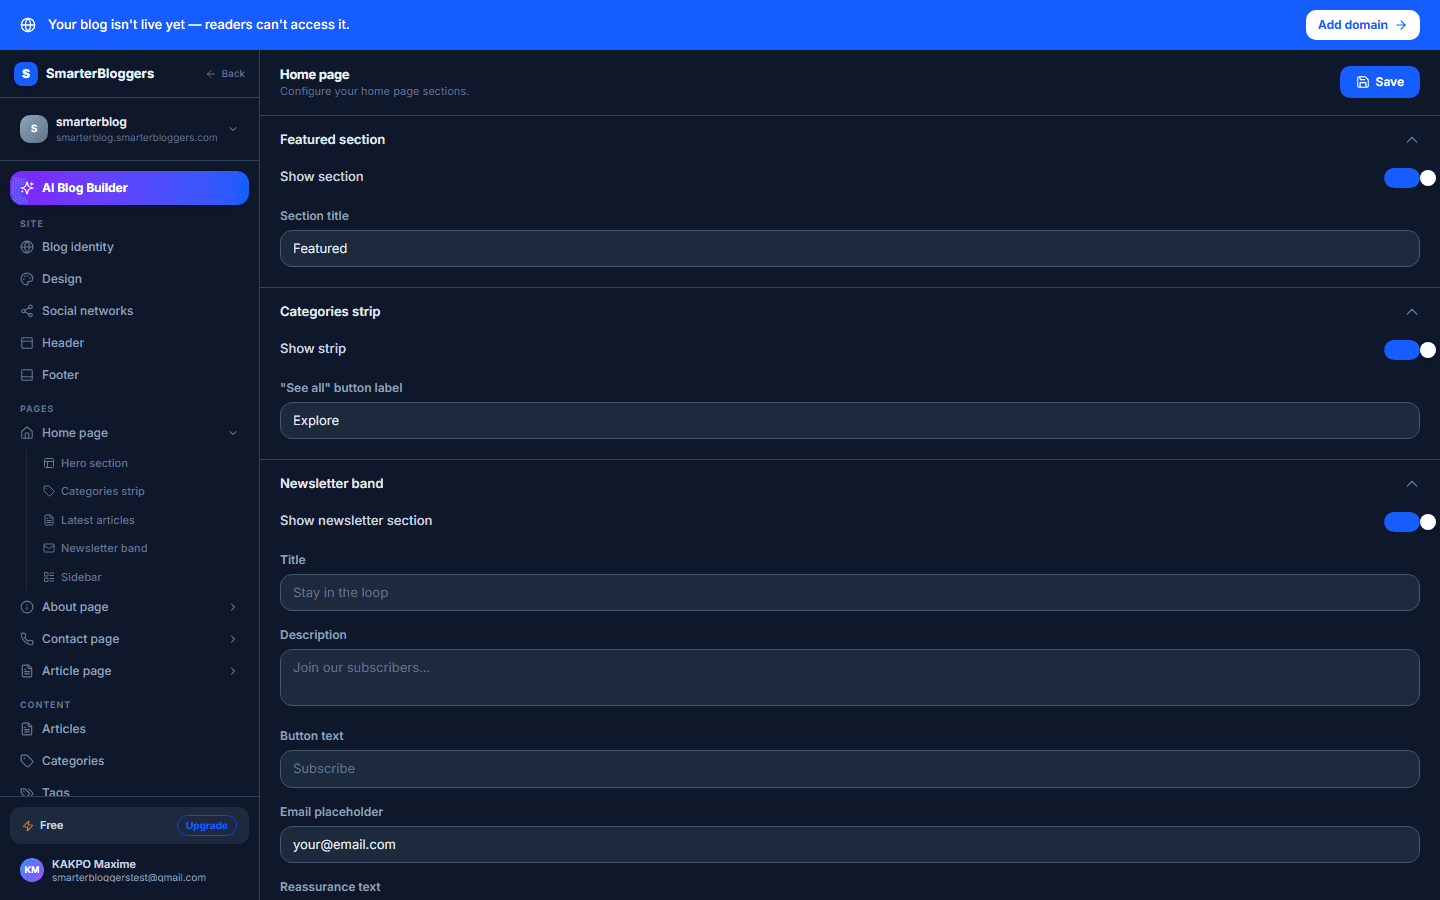
Hero Section
The Hero section is the prominent feature at the top of your home page. You can enable or disable this section using the toggle switch labeled 'Show Section'. If enabled, you can set a custom title for this section. Enter your desired title in the input field provided. This title will be displayed prominently on your home page.
- Use a compelling title to capture visitors' attention.
Categories Strip
The Categories Strip allows you to display a strip of categories on your home page. Enable this section using the 'Show Strip' switch. You can customize the label that appears on this strip by entering text in the provided input field. This label acts as a call-to-action for users to explore different categories.
- Choose a label that encourages exploration, like 'Explore Categories'.
Latest Articles
The Latest Articles section showcases the most recent posts on your blog. Enable this section with the 'Show Articles Grid' switch. Customize the section title and select the number of posts to display per page from the dropdown menu. Options range from 6 to 24 articles per page.
- Consider the layout of your page when choosing the number of articles to display.
Saving Your Changes
Changes made to your home page are automatically saved as you make them, thanks to the auto-save feature. However, you can manually save your changes at any time by clicking the 'Save' button. A confirmation toast will appear to notify you of a successful save. If an error occurs, an error message will be displayed.
- Check the preview to ensure your changes appear as expected.
What's next?
Now that your home page is customized, explore other sections of your blog to ensure a cohesive look and feel. Consider customizing your blog's theme and layout for a more personalized touch.