
Managing API Keys
Learn how to create, view, and revoke API keys for your blog
Overview of API Keys
API keys are essential for authenticating requests to your blog's API. They allow you to control access and track usage. In this guide, we'll walk you through how to manage your API keys, including creating new keys, viewing existing keys, and revoking keys that are no longer needed.
- Keep your API keys secure and do not share them publicly.
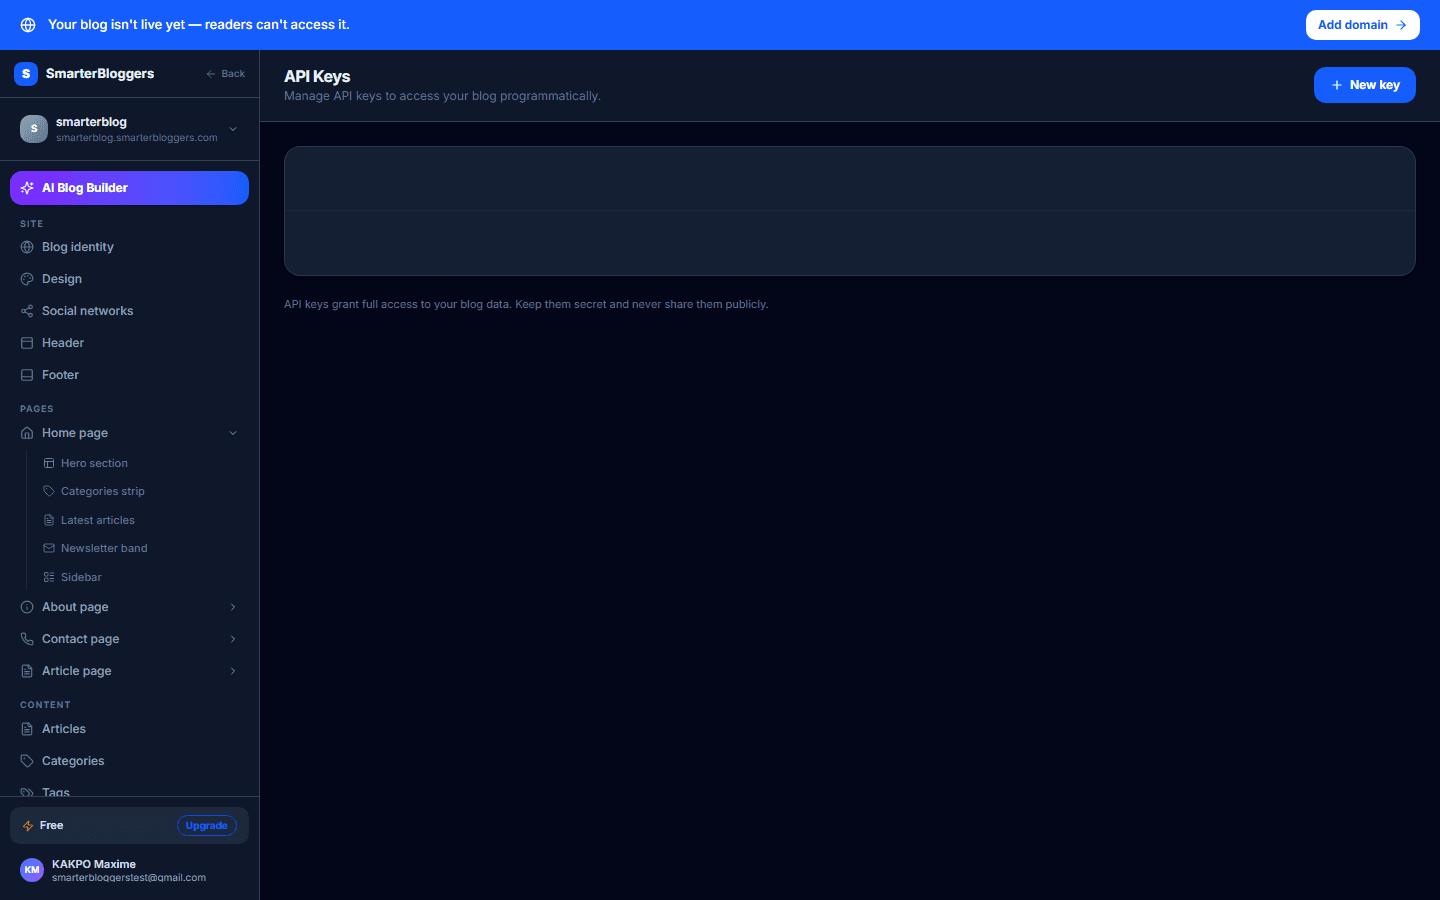
Viewing Existing API Keys
To view your existing API keys, navigate to the API Keys page in your blog's dashboard. Here, you will see a list of all active API keys associated with your blog. Each entry displays the key's name, a prefix of the key, creation date, last used date, and expiration date if applicable. If no keys are present, a message will indicate that no API keys have been created yet.
- API keys are only shown if they are active.
- The key prefix helps identify the key without exposing the full key.
Creating a New API Key
To create a new API key, click the 'New Key' button. A form will appear where you can enter the following details:
- Key Name: A descriptive name for the API key.
- Expires At: An optional expiration date for the key.
Once you have filled in the details, click 'Generate' to create the key. The full API key will be displayed only once, so make sure to copy and store it securely. If you miss copying it, you will need to create a new key.
- The key name should be unique and descriptive to help you identify its purpose.
- You can set an expiration date to automatically deactivate the key after a certain period.
Copying and Storing Your API Key
After creating a new API key, it will be displayed in a banner at the top of the page. You can copy the key to your clipboard by clicking the 'Copy' button. This is the only time the full key will be visible, so ensure you store it securely. Once copied, you can click 'Done' to dismiss the banner.
- Use a password manager to securely store your API keys.
- If you lose the key, you will need to generate a new one.
Revoking an API Key
If you need to revoke an API key, locate the key in the list and click the trash icon. A confirmation prompt will appear. Click 'Confirm Revoke' to deactivate the key, or 'Cancel' to keep it active. Once revoked, the key cannot be used to access the API.
- Revoke keys that are no longer needed to maintain security.
- You can always create a new key if needed.
Security Considerations
API keys are sensitive credentials. Ensure they are kept confidential and only shared with trusted parties. Regularly review and revoke keys that are no longer in use. Consider setting expiration dates for keys to automatically limit their lifespan.
- Regularly audit your API keys to ensure they are still needed.
- Use different keys for different applications or services to minimize risk.
What's next?
Now that you know how to manage your API keys, explore our guides on integrating with third-party services and enhancing your blog's functionality with our API.