
Creating your account & signing in
Everything you need to know before you start publishing on SmarterBloggers.
Two ways to sign up
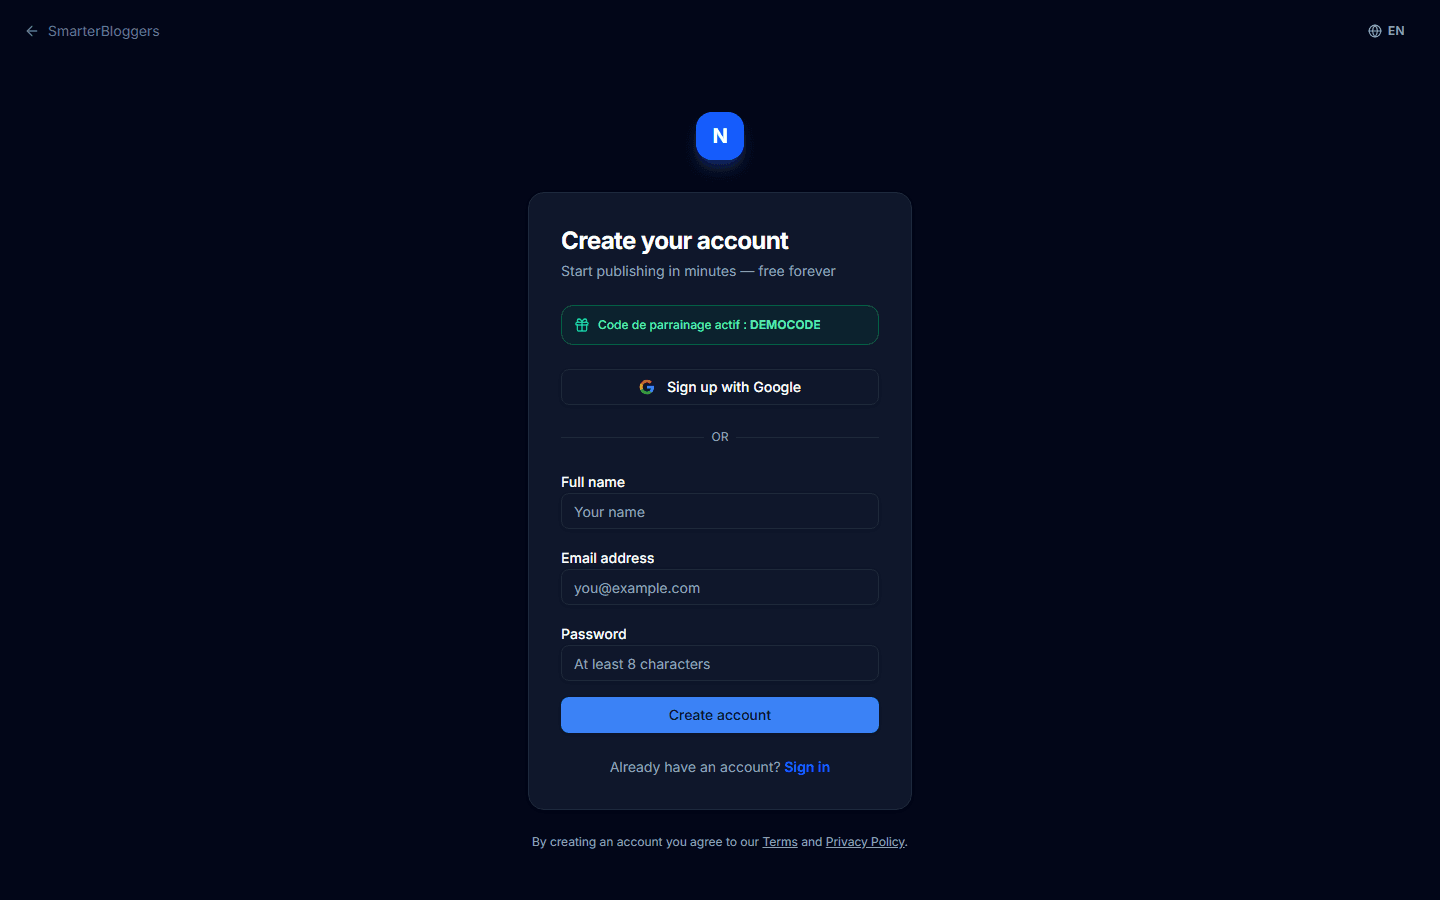
You can create your SmarterBloggers account in two ways: click "Sign up with Google" for instant, one-click access using your existing Google account, or fill in the form with your full name, email address, and a password of at least 8 characters. There's no cost to sign up — every account starts on the Free plan.
Were you invited by someone?
If you followed a referral link (a URL ending in ?ref=SOMECODE), you'll see a green "Referral code active" badge on the sign-up form before you even fill it in. This links your new account to the person who referred you — it's how SmarterBloggers' affiliate program tracks who introduced whom. You don't need to do anything else; the code is applied automatically when you create your account.
Verify your email
If you signed up with email and password, SmarterBloggers sends you a verification email right away — you cannot sign in until you click the link inside it. While you wait, keep the confirmation screen open: it automatically detects when you've clicked the link and redirects you to the sign-in page, so you don't need to come back and refresh manually. If you signed up with Google, this step is skipped entirely, since Google has already verified your email address.
- Can't find the email? Check your spam folder, or use the "Resend verification email" link on the sign-in page.
Signing in
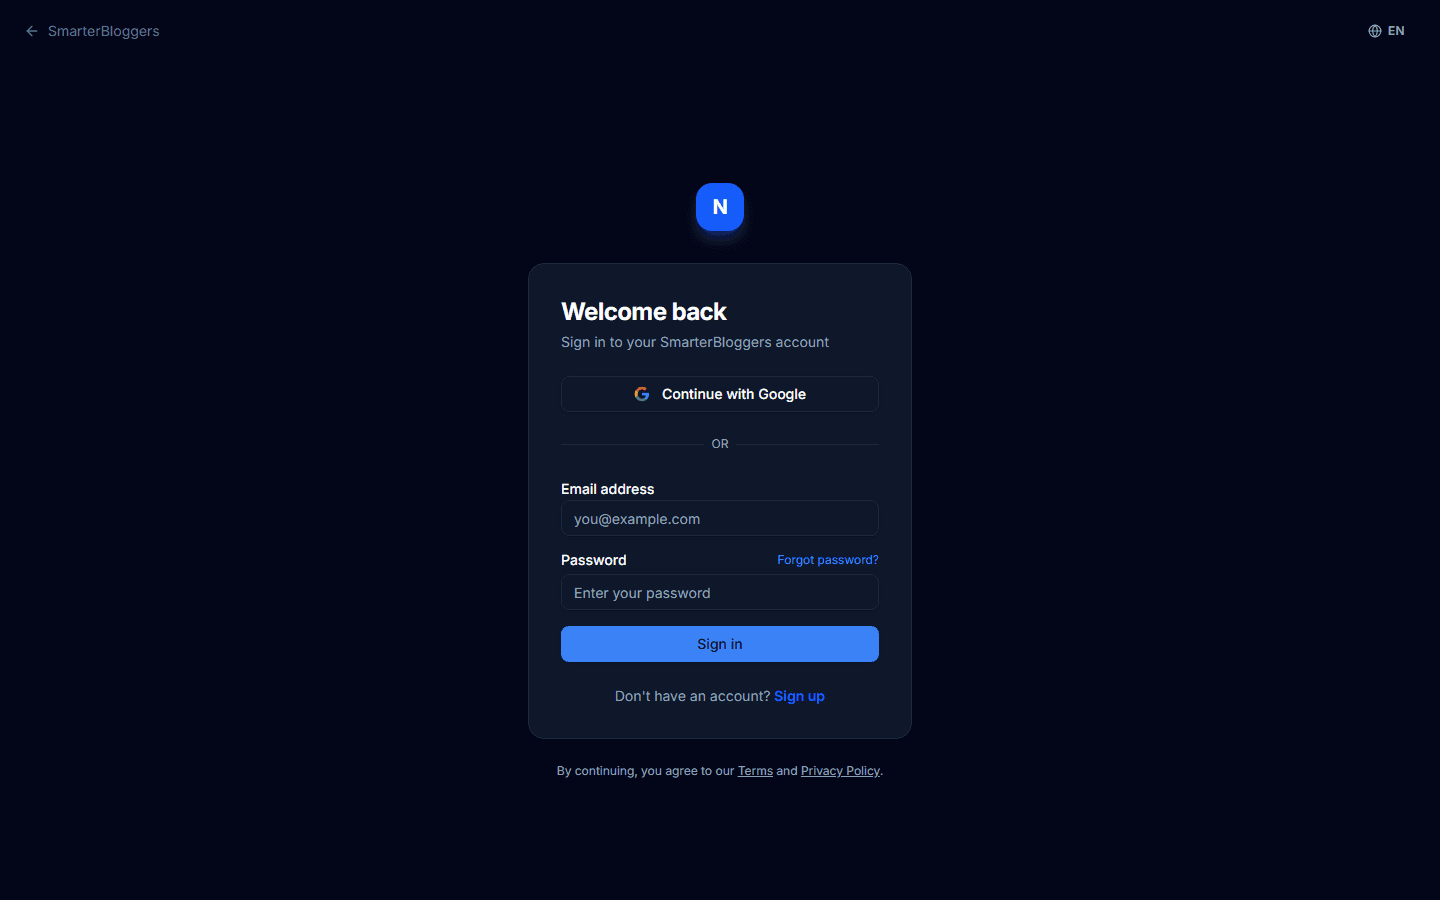
Once your account is set up, sign in with the same method you used to register — Google, or your email and password. If you registered with email and password but skipped verification, the sign-in page will offer to resend the verification email.
Forgot your password?
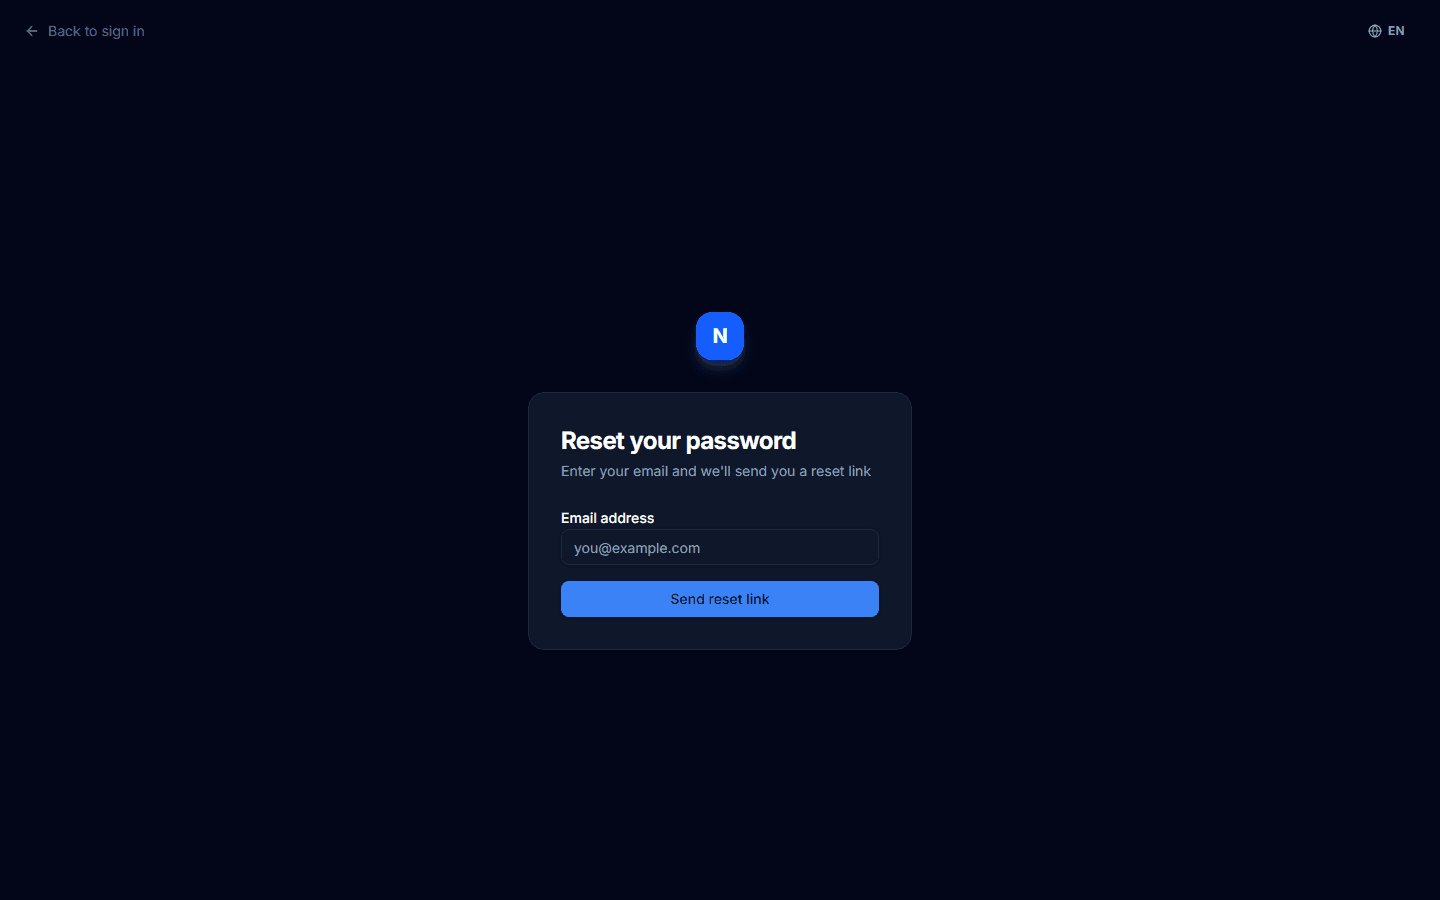
Click "Forgot password?" on the sign-in page and enter your email address. You'll receive a link to set a new password. This works regardless of how you originally signed up, as long as your account has a password set.
What's next?
Once you're signed in, the next step is usually verifying your identity (KYC) if you plan to earn affiliate commissions, or heading straight to "My blogs" to create your first blog.