
Managing Categories
Comprehensive guide to creating, updating, and managing categories for your blog
Viewing Categories
To view the categories associated with your blog, navigate to the Categories page in your dashboard. Here, you will see a grid layout displaying each category's name, slug, and the number of articles associated with it. Categories are sorted by their sort order and name. If no categories are present, a prompt will encourage you to create a new one.
- Use the sort order to control the display sequence of categories.
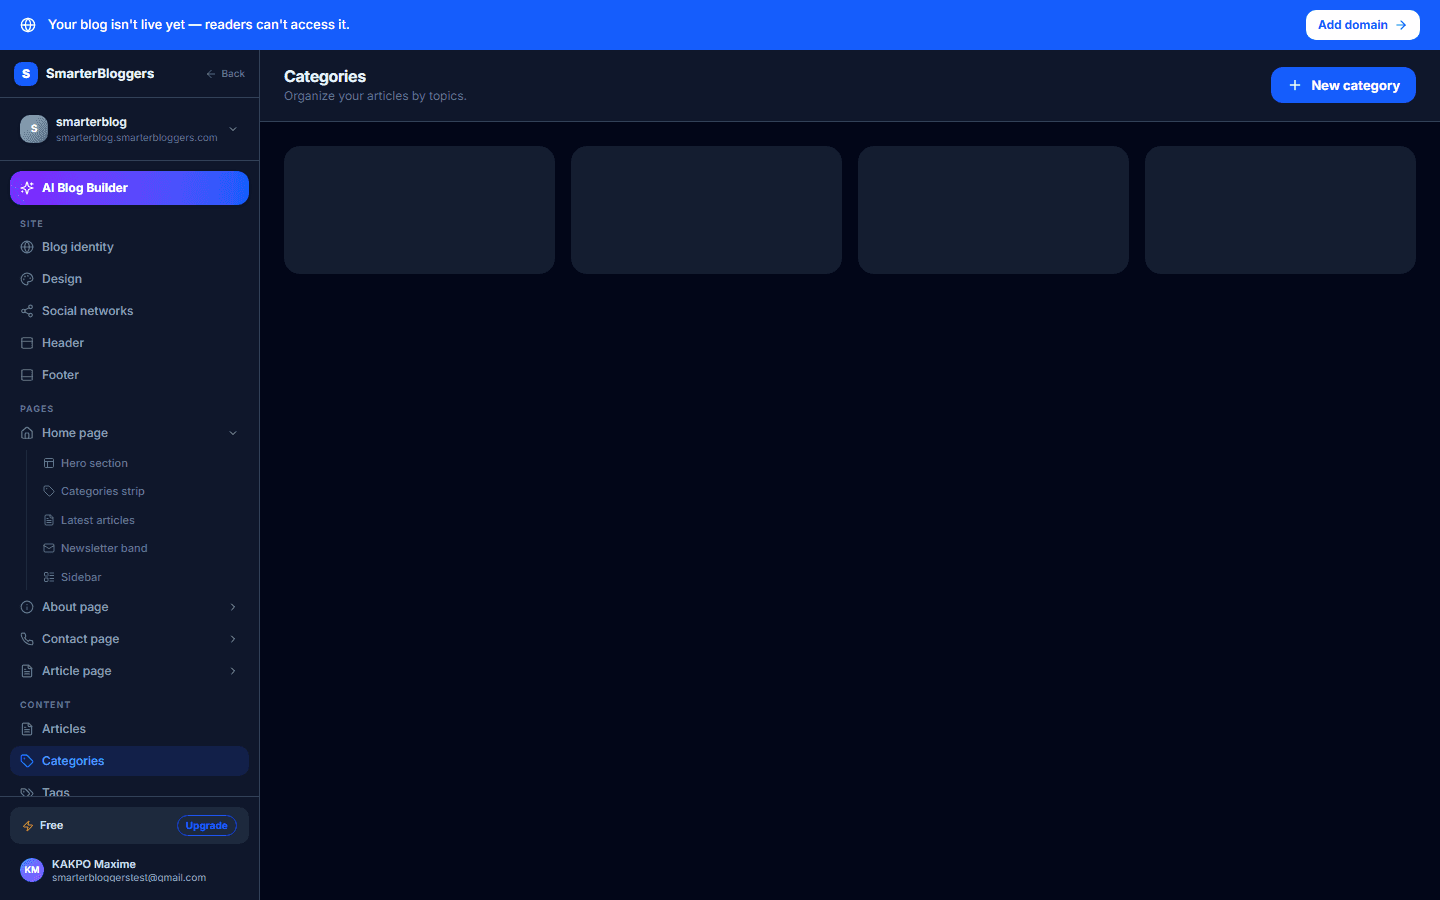
Creating a New Category
To create a new category, click the 'Add Category' button. This will open a form where you can enter the following details:
- Name: The name of the category. This is required.
- Slug: A URL-friendly version of the name. It is auto-generated from the name but can be manually edited.
- Description: A short description of the category.
- Color: Choose from a predefined set of colors to represent the category.
- Cover Image URL: Optionally, add a cover image by clicking the image icon and selecting an image.
Once all required fields are filled, click 'Create' to add the category. If a category with the same slug already exists, you will need to choose a different slug.
- Ensure the category name is descriptive and unique.
- You can change the slug manually if needed.
Editing a Category
To edit an existing category, hover over the category card and click the edit icon. This will open an editable form with the current details of the category. You can update the name, description, color, and cover image. Once your changes are made, click 'Save' to update the category.
- Use the color option to visually differentiate categories.
Deleting a Category
To delete a category, hover over the category card and click the trash icon. If the category contains articles, you will need to confirm the deletion by setting the 'force' option to true. This action cannot be undone, so proceed with caution.
- Consider reassigning articles to another category before deletion.
Managing Category Details
Each category can have additional details such as SEO title and description, which can be set during creation or editing. These fields help improve the visibility of the category in search engines.
- Use SEO fields to enhance search engine visibility.
What's next?
Now that you have set up your categories, explore how to assign articles to them and manage your blog's content effectively. Check out our guides on article management and SEO optimization for more tips.