
Managing Ads on Your Blog
Comprehensive guide to submitting, reviewing, and managing ads on your blog
Submitting an Ad
To submit an ad, navigate to the ad submission page. You'll need to provide the following details:
- Advertiser Name: Your name or the name of the person responsible for the ad.
- Advertiser Email: A valid email address for contact purposes.
- Advertiser Company: (Optional) The company name associated with the ad.
- Title: A catchy headline for your ad.
- Description: (Optional) A brief description of the ad content.
- Image URL: (Optional) A URL pointing to an image to be displayed with your ad.
- Click URL: The destination URL where users will be directed upon clicking the ad.
- Placement: (Optional) Specify where the ad should appear.
- Start and End Dates: (Optional) Define the campaign period.
- Price Per Day: (Optional) Set a daily budget for the ad.
- Total Budget: The total amount you are willing to spend on the ad. Note that the minimum budget is configurable by the platform's super admin.
Once submitted, the ad will be in a 'Payment Pending' status until the payment is confirmed. Payment is processed through NowPayments, and the ad will undergo a security scan once payment is confirmed.
- Ensure all URLs are correct and active.
- Double-check the budget to meet the minimum requirement.
Reviewing and Approving Ads
Ads submitted to the platform are subject to a review process. Only super admins have the authority to approve or reject ads. During the review, the following checks are performed:
- Payment Confirmation: Ads cannot be approved until payment is confirmed.
- Link Safety: Ads with links flagged as dangerous cannot be approved.
If an ad is approved, it will be activated and commissions will be distributed. If rejected, a reason must be provided, and the ad's status will be updated to 'Rejected'. Notifications are sent to the advertiser via email and in-app messages.
- Only super admins can approve ads.
- Ensure the link safety status is 'Safe' before approving.
When You Get Paid
As soon as an ad on your blog is approved, 60% of what the advertiser paid is due to you (10% goes to the affiliate program, 30% to the platform). What happens next depends on whether your blog currently has any active guest revenue share:
- No active guest (the default for almost every blog): your 60% is paid out instantly, the moment the ad is approved — no waiting for a monthly cycle. This still requires a verified KYC and a registered USDT wallet address; without either, the payout isn't attempted at all and nothing is set aside for you.
- At least one active guest: your 60% is no longer paid instantly. It's held and split at the end of the calendar month between you and your guest(s), based on how often each ad was actually shown on each guest's articles, then paid out on the 15th of the following month. See the "Sharing ad revenue with guest authors" guide for the exact formula and a worked example.
In other words: inviting a guest and giving them a revenue share is the only thing that changes your own payout from instant to monthly — everything else about how ads are reviewed, approved, and billed stays exactly the same either way.
- If you don't see any guest revenue share set up for your blog, your ad payouts are instant, not held.
Managing Active Ads
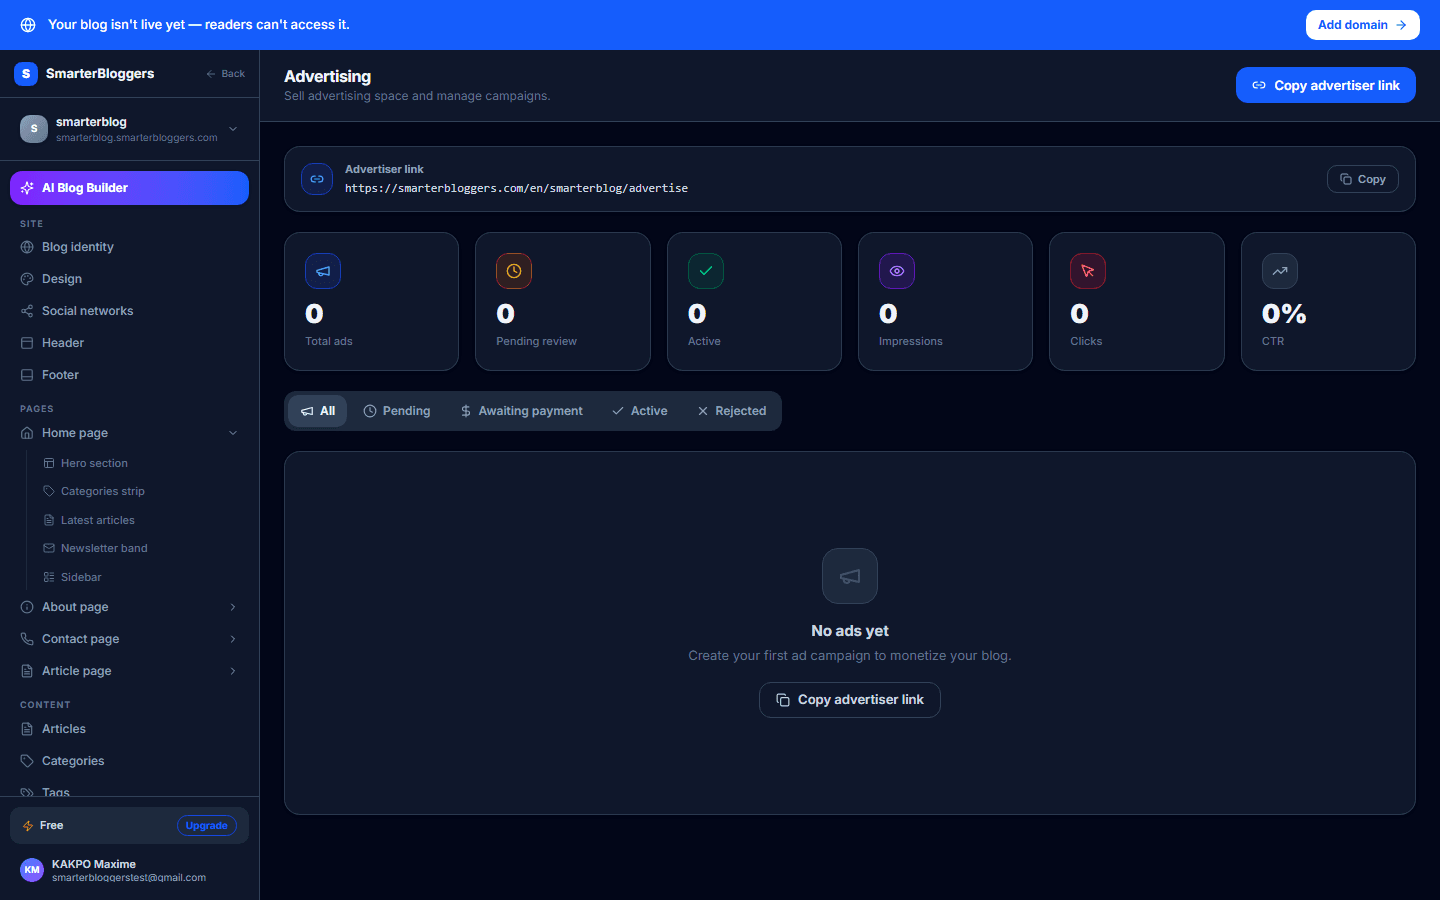
Once an ad is approved and active, you can manage its status:
- Pause: Temporarily stop the ad campaign. This option is available for ads with an 'Active' status.
- Resume: Reactivate a paused ad campaign. Ensure the link safety status is 'Safe' before resuming.
You can view detailed statistics for each ad, including impressions, clicks, and click-through rate (CTR).
- Regularly monitor ad performance to optimize campaigns.
- Ensure links remain safe to avoid suspension.
Viewing Ad Statistics
Ad statistics provide insights into the performance of your campaigns. You can view:
- Total Impressions: The number of times the ad has been displayed.
- Total Clicks: The number of times the ad has been clicked.
- CTR (Click-Through Rate): The percentage of impressions that resulted in a click.
These metrics help you understand the effectiveness of your ads and make informed decisions about future campaigns.
- Use CTR to gauge ad effectiveness.
- Compare performance across different ads to identify trends.
Handling Rejected Ads
If an ad is rejected, it will be marked with a 'Rejected' status, and a reason will be provided. You can view the rejection reason in the ad details. Consider the feedback and make necessary adjustments before resubmitting the ad.
- Review rejection reasons carefully to improve future submissions.
- Ensure all ad content complies with platform guidelines.
Technical Details and Safety Scans
Each ad undergoes a safety scan to ensure the destination link is safe. The link safety status can be:
- Safe: The link is verified as safe.
- Dangerous: The link is flagged as unsafe, and the ad will be suspended.
- Unknown/Unchecked: The link has not been scanned yet.
You can manually trigger a safety scan if needed. Ensure all links are safe to maintain the integrity of your ad campaigns.
- Regularly check link safety status.
- Avoid using URLs that may be flagged as dangerous.
What's next?
Now that you understand how to manage ads on your blog, explore advanced targeting options and optimize your ad content for better engagement. Check out our guides on ad targeting strategies and content optimization.