
Managing Your Newsletter
Comprehensive guide to using the newsletter feature on our platform
Subscribing to the Newsletter
To subscribe to a newsletter, users need to provide their email address and optionally their first and last names. The subscription process involves a double opt-in mechanism, where a confirmation email is sent to the subscriber's email address. The subscriber must click the confirmation link in the email to activate their subscription. If a user tries to subscribe with an email that is already unsubscribed, they will receive a confirmation email to reactivate their subscription. The maximum number of subscribers is determined by the plan limits.
- Ensure the email address is valid to receive the confirmation email.
- Check your spam folder if you do not receive the confirmation email.
Confirming Subscription
After subscribing, users will receive a confirmation email containing a link. Clicking this link will confirm their subscription, changing their status to 'ACTIVE'. This process ensures that only users who have explicitly opted in will receive newsletters.
- The confirmation link is valid only once, so ensure to click it promptly.
Managing Subscribers
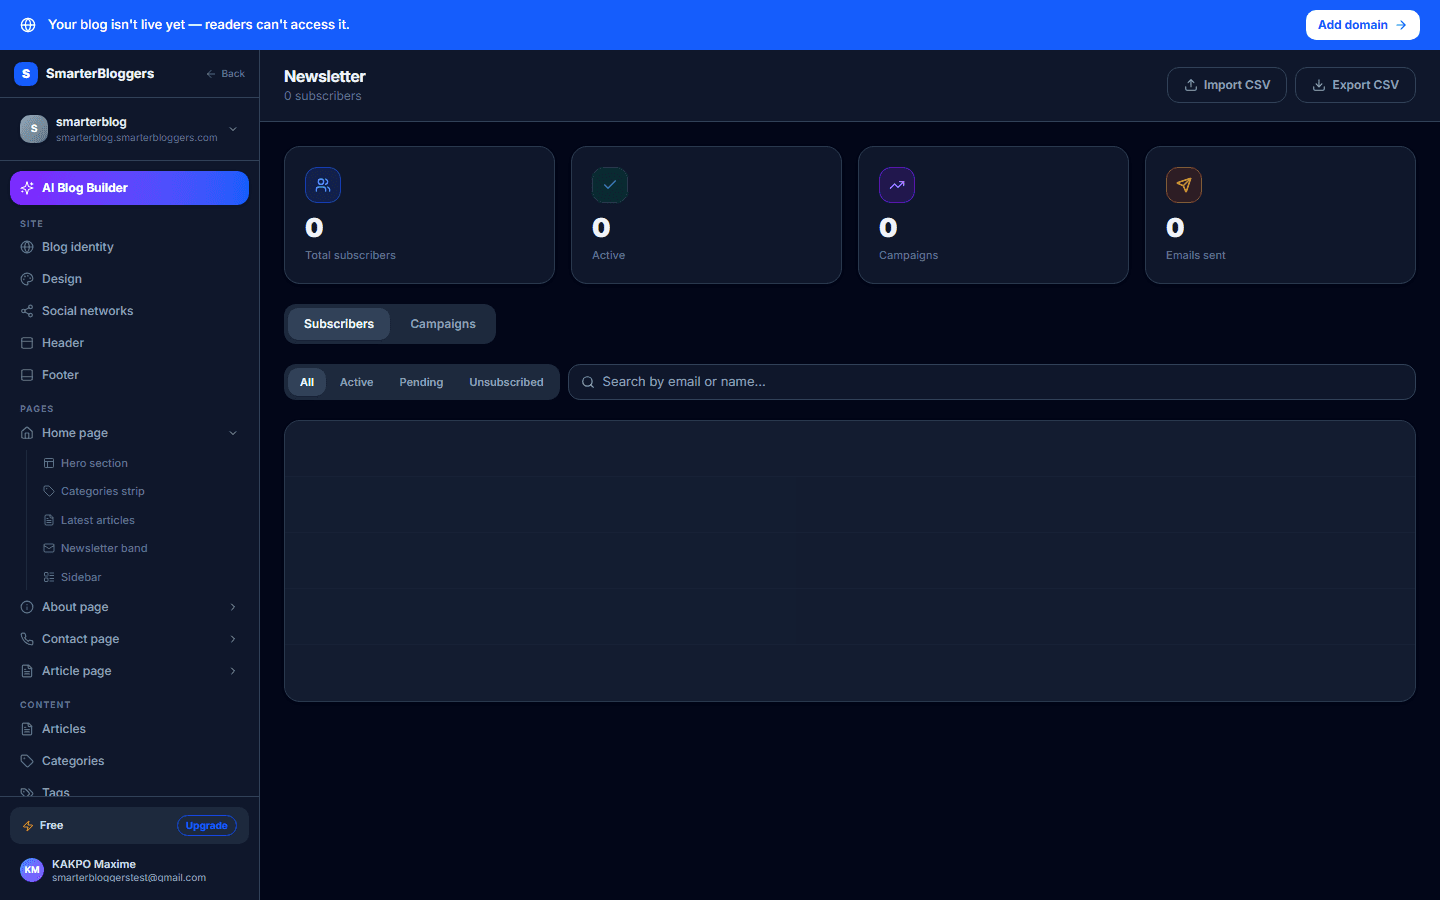
Administrators can manage subscribers through the dashboard. This includes exporting subscriber lists to a CSV file and importing new subscribers from a CSV file. The CSV file for import should contain columns for email, first name, and last name. Existing subscribers will be skipped during import.
- Ensure the CSV file is correctly formatted before importing.
- Use the export feature to back up your subscriber list.
Creating and Managing Campaigns
Campaigns can be created with a name, subject, preview text, and body content. Campaigns can be scheduled for future sending or saved as drafts. Paid campaigns can also be created, where users need to pay to access the newsletter. The price for paid campaigns is set in USDT.
- Draft campaigns can be edited before sending.
- Ensure the content is finalized before scheduling a campaign.
Sending and Testing Campaigns
Campaigns can be sent to all active subscribers. Before sending, a test email can be sent to verify the content. The status of campaigns will update as they are sent, and statistics such as recipient count, open count, and click count are tracked.
- Use the test email feature to ensure content displays correctly.
- Monitor campaign statistics to gauge engagement.
Handling Paid Campaigns
For paid campaigns, users must complete a payment process to access the newsletter. The payment is processed through NowPayments, and access is granted once the transaction is confirmed. Each paid campaign must have a set price in USDT.
- Ensure the payment details are correct before proceeding.
- Users will receive access only after payment confirmation.
What's next?
Explore more features of our platform, such as content creation and analytics, to enhance your blog's reach and engagement.