
Navigating the Studio
A comprehensive guide to using the Studio interface for your blog
Template Canvas
The Template Canvas is the primary area where you can view and edit your blog's layout in real-time. It supports three device modes: Desktop, Tablet, and Mobile. You can switch between these modes using the Topbar to see how your blog will look on different devices. The canvas is loaded in an iframe, and its URL is dynamically generated based on your blog's ID and locale.
When you first load the Studio, the canvas initializes by sending a 'STUDIO_INIT' message with details such as the theme, language, and active page. As you interact with the canvas, you can select elements or sections by clicking on them, which triggers 'ELEMENT_CLICK' or 'SECTION_CLICK' messages, respectively. You can also perform inline edits on fields, which are updated in real-time.
If you make changes to the live configuration, these are debounced and sent as 'PATCH_LIVECONFIG' messages to ensure smooth updates. The canvas will also automatically navigate to the active page whenever it changes.
- Use the device mode switcher to preview your blog on different devices.
- Ensure your changes are saved to see them reflected in the live configuration.
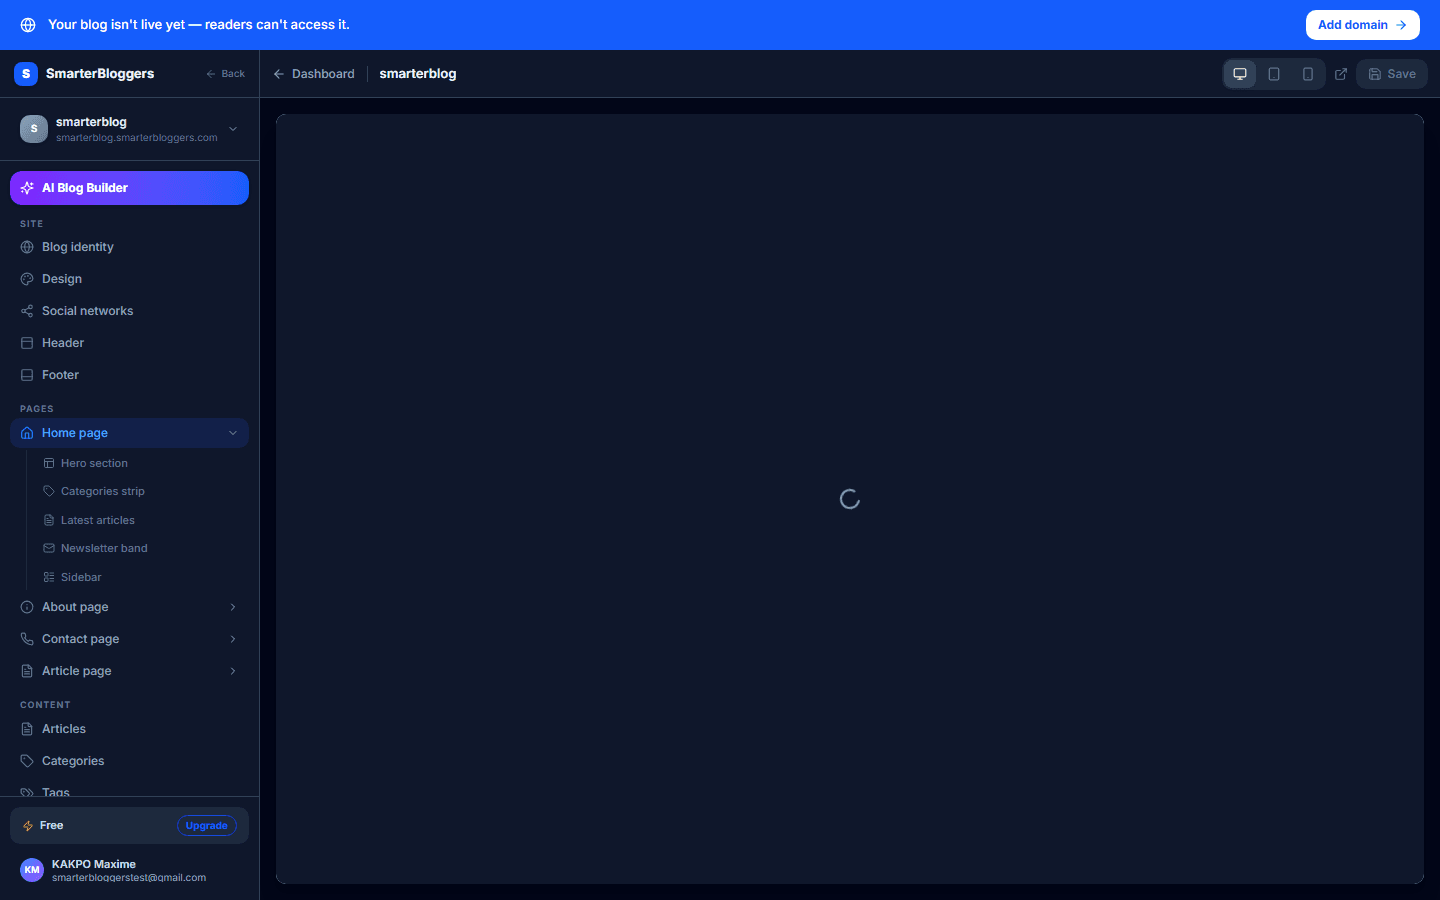
Structure Panel
The Structure Panel is your navigation hub within the Studio. It allows you to switch between different sections and pages of your blog. The panel is divided into several categories:
- Site: Contains global sections that apply across your entire blog.
- Pages: Lists all pages in your blog, each with expandable sections.
- Content: Provides quick access to manage articles, categories, tags, media, newsletters, comments, and ads.
- Growth: Includes tools for analytics, SEO, social media, languages, and accounting.
- Settings: Offers options for general settings, collaborators, domains, API keys, and support.
You can also switch between different blogs you manage using the blog selector at the top. The panel includes a link to view your blog live and a footer with your current plan details and a sign-out option.
- Use the AI Builder for automated content suggestions.
- Expand pages to view and navigate to specific sections.
Properties Panel
The Properties Panel displays detailed settings for the currently selected section of your blog. It appears when you select a section in the Structure Panel and provides fields for customization. Each field corresponds to a specific aspect of the section, such as text content, images, or layout options.
You can update these fields directly in the panel, and changes are applied in real-time to the live configuration. If you wish to deselect a section and close the Properties Panel, simply click the close button in the panel's header.
- Ensure the correct section is selected to view its properties.
- Use the Properties Panel to fine-tune your blog's appearance.
What's next?
Now that you are familiar with navigating the Studio, you can start customizing your blog's design and content. Explore our guides on content creation and SEO optimization to enhance your blog further.