
Configuring Your Contact Page
Learn how to set up and customize the contact page for your blog
Hero Section
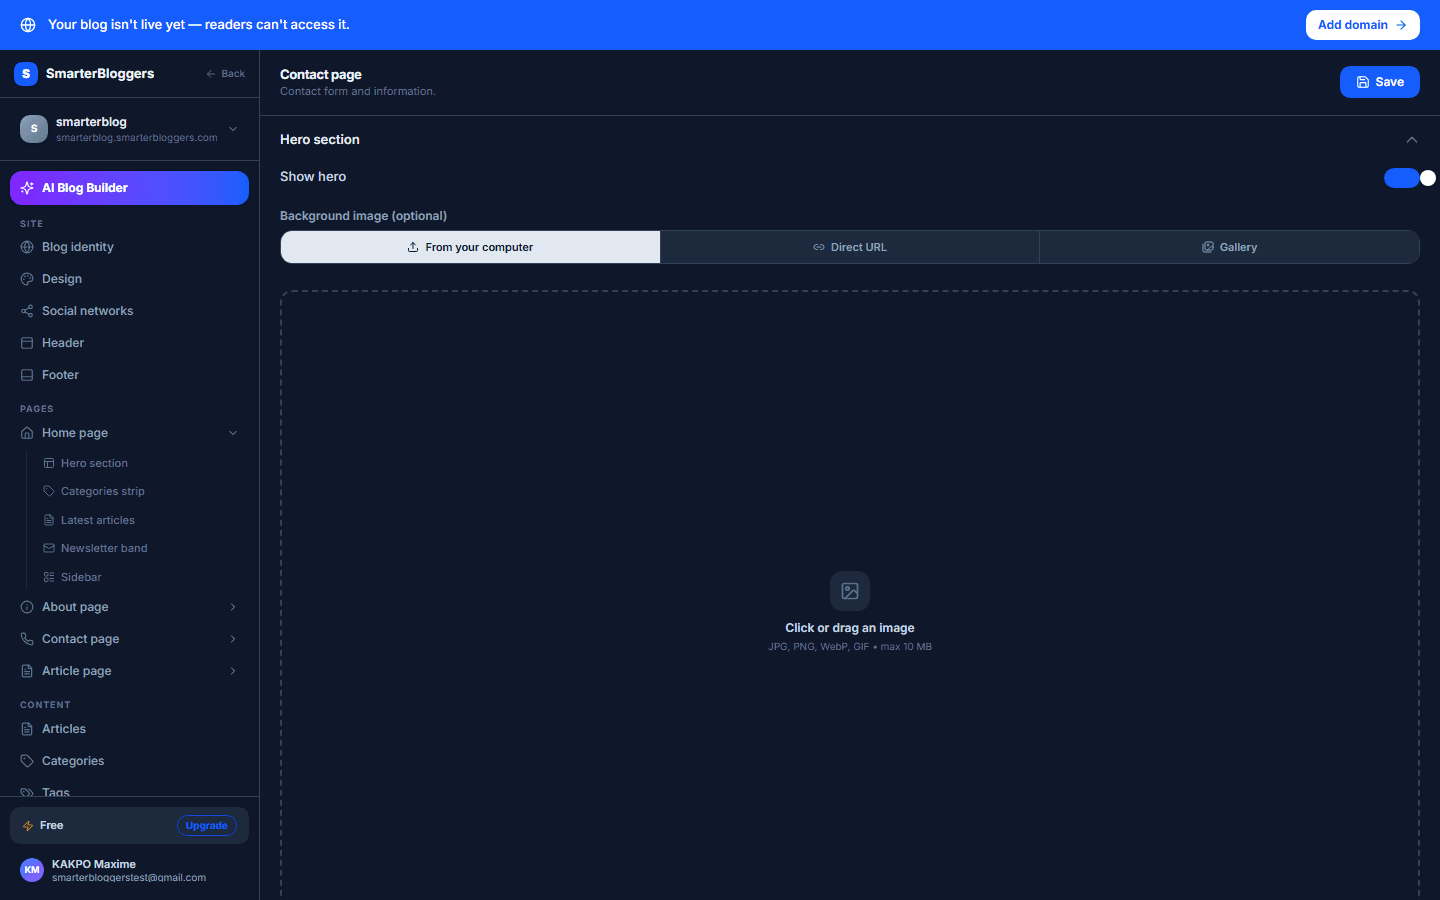
The Hero section of your contact page is designed to make a strong first impression. You can enable or disable this section using the 'Show Hero' switch. If enabled, you can customize the following fields:
- Cover Image: Use the Image Picker to upload or select an image for the hero section. The recommended aspect ratio is 16:9.
- Subtitle: Enter a subtitle for your hero section. This field can be left empty if not needed.
- Title: Provide a title for the hero section. This is a required field and should be descriptive.
- Description: Use the Rich Text editor to add a detailed description. This field supports rich text formatting.
- Ensure your cover image is high quality for the best visual impact.
- Keep the title and subtitle concise and relevant.
Contact Form Section
The Contact Form section allows visitors to send messages directly from your contact page. You can toggle this section on or off with the 'Show Contact Form' switch. When enabled, customize the following fields:
- Form Title: Set a title for your contact form.
- Name Placeholder: Customize the placeholder text for the name input field.
- Email Placeholder: Set the placeholder for the email input field. A default example is provided.
- Subject Placeholder: Define the placeholder for the subject input field.
- Message Placeholder: Customize the placeholder text for the message input field.
- Submit Button Label: Set the text that appears on the submit button.
- Success Message: Define the message displayed after a successful form submission.
- Use clear and inviting language for placeholders to guide users.
- Ensure the success message confirms receipt and thanks the user.
Contact Information Section
The Contact Information section provides static details about how visitors can reach you. This section can be enabled or disabled with the 'Show Contact Info' switch. When active, you can configure the following:
- Title: Set a title for this section.
- Email: Provide a contact email address.
- Phone: Optionally, include a phone number.
- Response Time: Indicate the expected response time for inquiries.
- Show Address: Use the switch to decide if your address should be displayed. If enabled, you can enter your address and optionally include a map embed URL.
- Keep contact information up-to-date to ensure users can reach you.
- If including an address, consider embedding a map for easy navigation.
What's next?
After setting up your contact page, explore other customization options for your blog, such as theme settings and content management, to enhance user engagement.